
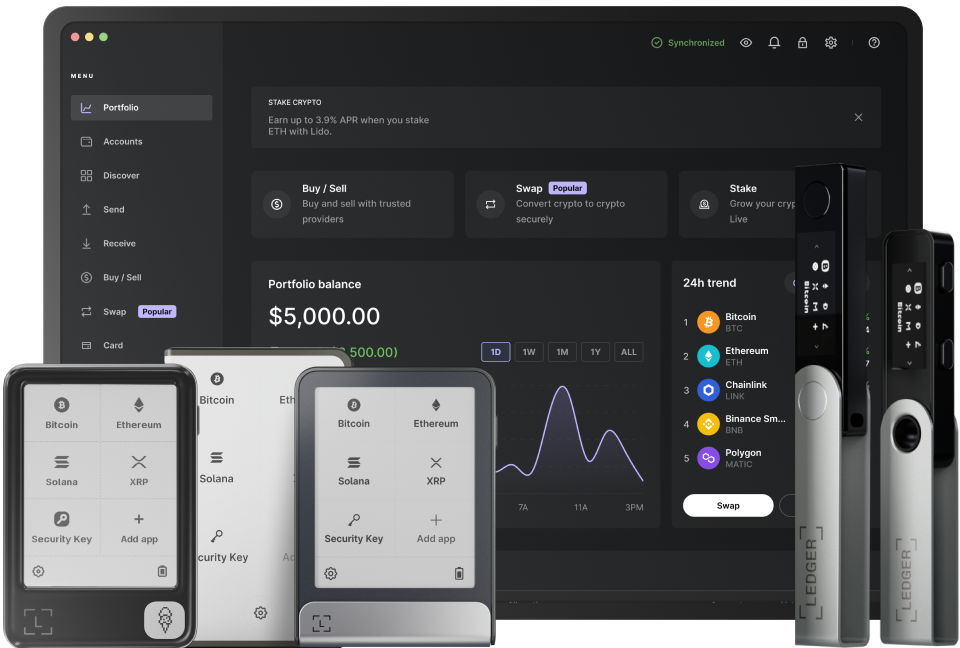
Connecting your Ledger hardware wallet to MetaMask is a crucial step for secure and convenient cryptocurrency management. MetaMask is a popular browser - based wallet that allows you to interact with the Ethereum blockchain and various decentralized applications (dApps). Meanwhile, Ledger is a well - known hardware wallet that provides enhanced security by storing your private keys offline. By connecting them, you can leverage the security of Ledger and the functionality of MetaMask.
Before you start the connection process, there are several prerequisites. First, make sure your Ledger device is properly set up. This includes initializing it with a PIN and a recovery phrase. You should also have the latest firmware installed on your Ledger device. Additionally, install the MetaMask extension in your web browser. It is available for popular browsers such as Chrome, Firefox, and Brave. You need to create or import a wallet in MetaMask if you haven't already done so. Also, ensure that your computer has a USB port or Bluetooth capability, depending on the type of connection your Ledger device supports.
The first step in connecting your Ledger to MetaMask is to open the Ethereum app on your Ledger device. Navigate through the device's menu to find the Ethereum app and open it. Once the app is open, connect your Ledger device to your computer. If it's a USB - connected device, plug it into an available USB port. If it's a Bluetooth - enabled device, pair it with your computer following the standard Bluetooth pairing process. You may need to enter the PIN on your Ledger device during this connection process to unlock it.
Next, open the MetaMask extension in your browser. Click on the account icon at the top - right corner of the MetaMask interface. From the dropdown menu, select "Connect Hardware Wallet". A new window will appear with a list of supported hardware wallets. Find and select "Ledger" from the list. MetaMask will then attempt to detect your connected Ledger device. If it fails to detect, double - check that your device is properly connected and unlocked.
After detecting the Ledger device, MetaMask will display a list of accounts available on your Ledger. You can select one or more accounts to import into MetaMask. Each account on your Ledger represents a different set of public and private keys, which can be used to manage different cryptocurrency holdings. Once you've selected the accounts you want to import, click "Import". MetaMask will then import these accounts, and you'll be able to see them in your MetaMask wallet interface.
Once the accounts are imported, you can start using them within MetaMask. You can view your cryptocurrency balances, send and receive tokens, and interact with dApps just as you would with a regular MetaMask wallet. However, when performing transactions, you'll need to confirm them on your Ledger device. This adds an extra layer of security, as it ensures that only you, with physical access to your Ledger, can authorize transactions.
It's important to note that if you encounter any issues during the connection process, such as connectivity problems or account import failures, you can refer to the official documentation of both Ledger and MetaMask. They provide detailed troubleshooting guides that can help you resolve common issues. Additionally, you can reach out to their respective support teams for further assistance. By following these steps carefully, you can successfully connect your Ledger to MetaMask and enjoy a more secure and efficient cryptocurrency management experience.
TAG: Ledger your wallet device cryptocurrency connection accounts MetaMask import open